Installing a chimney liner is a crucial step in maintaining the safety and efficiency of your fireplace or heating appliance. A chimney liner protects the interior walls of the chimney, improves draft, and prevents the escape of hazardous gases. In this step-by-step guide, we will walk you through the process of chimney liner installation to ensure a successful and secure installation.
Note: Before starting any chimney liner installation, it is important to check your local building codes and regulations, as well as consulting a professional if necessary.
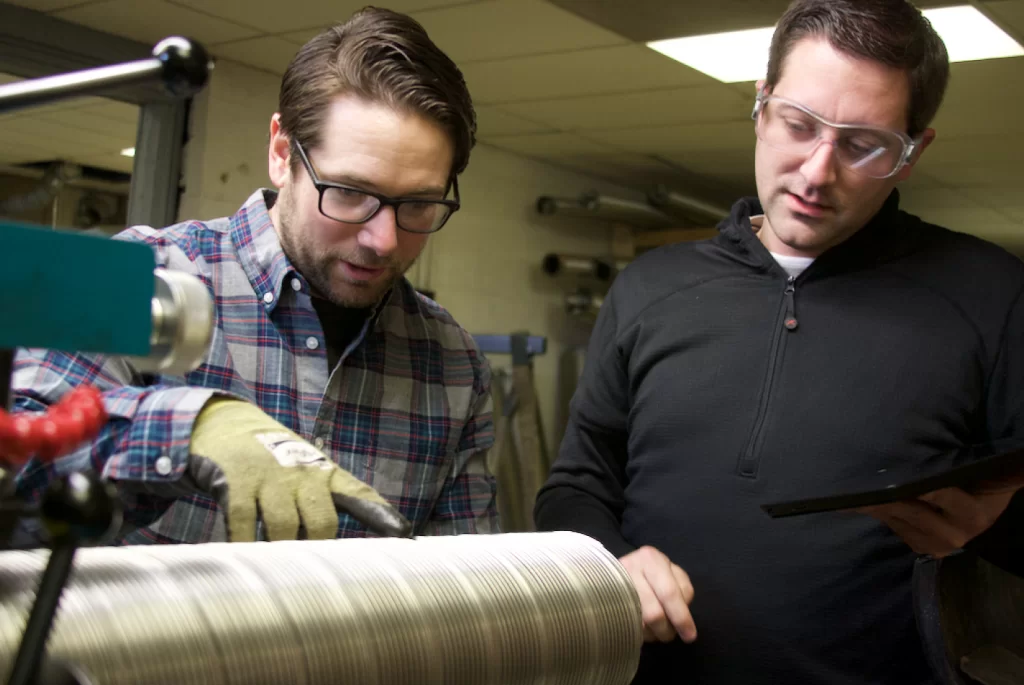
Need help? Take advantage of our exceptional services by requesting a free quote for chimney liner installation, and don’t miss out on incredible discounts when you contact us today.
Materials and Tools Needed:
- Chimney liner kit (stainless steel or aluminum)
- Insulation material (if required)
- Measuring tape
- Wire brush
- Masonry drill
- Screwdriver
- Tin snips
- High-temperature silicone sealant
- Aluminum foil tape
- Safety gloves
- Safety goggles
- Ladder or scaffolding (if required)
Step 1: Preparation
1.1 Ensure that the fireplace or heating appliance is completely cooled down before beginning the installation.
1.2 Measure the length of the chimney from the top to the bottom. Take accurate measurements to determine the length of the liner required.
Step 2: Removing the Damper Plate (if applicable)
2.1 Remove the damper plate by unscrewing it from the fireplace or heating appliance. Keep it in a safe place, as it may be reinstalled later.
Step 3: Cleaning the Chimney
3.1 Use a wire brush to thoroughly clean the interior walls of the chimney. Remove any debris, soot, or creosote buildup.
3.2 Inspect the chimney for any cracks or damage. Repair any issues before proceeding with the installation.
Step 4: Installing the Liner
4.1 Unroll the chimney liner kit and ensure it is the correct length.
4.2 Attach the liner to the top of the chimney by securing it with clamps or stainless steel screws.
4.3 Slowly lower the liner into the chimney while ensuring it remains straight and centered.
4.4 If necessary, cut the liner using tin snips to fit it properly.
Step 5: Insulating the Liner (if required)
5.1 If insulation is required or recommended for your specific installation, wrap the liner with insulation material.
5.2 Secure the insulation using high-temperature silicone sealant or aluminum foil tape.
Step 6: Connecting the Liner to the Appliance
6.1 Attach the liner to the appliance using the appropriate connector or adapter.
6.2 Ensure a tight and secure connection by using stainless steel screws or clamps.
Step 7: Sealing and Testing
7.1 Inspect all the joints and connections for any gaps or leaks.
7.2 Apply high-temperature silicone sealant to seal any gaps or leaks.
7.3 Once the sealant has dried, conduct a smoke test to ensure the proper functioning and draft of the chimney.
Installing a chimney liner is a task that requires careful attention to detail and adherence to safety guidelines. By following this step-by-step guide, you can ensure a successful chimney liner installation, improving the performance, efficiency, and safety of your fireplace or heating appliance. Remember to consult local building codes and regulations and seek professional assistance if necessary. Enjoy the warmth and comfort of your well-maintained chimney!