Installing metal roof flashing around a chimney is a crucial step in ensuring your roof remains watertight and well-protected against potential leaks. Flashing serves as a barrier between the chimney and the roofing material, preventing water from seeping into vulnerable areas. In this article, we will guide you through the process of installing metal roof flashing for a chimney, providing you with the confidence to tackle this task effectively.
Tools and Materials Needed:
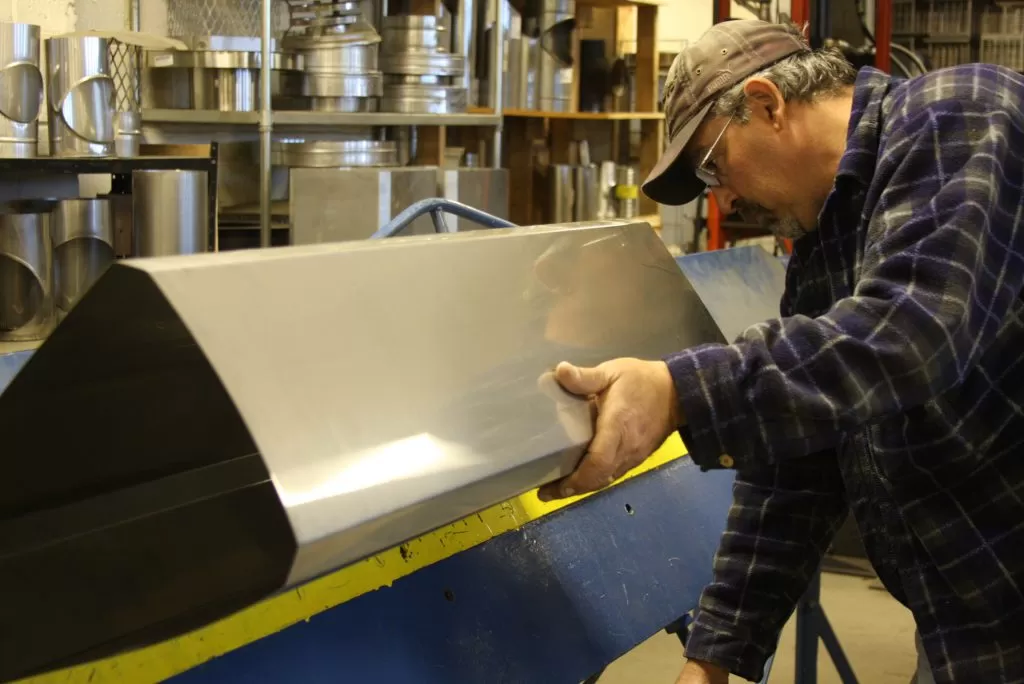
Metal roof flashing kit (includes base, step, and counter flashing)
Measuring tape
Chalk or pencil
Tin snips
Sealant (high-temperature silicone or roofing cement)
Screwdriver or drill with appropriate bits
Roofing nails/screws
Ladder
Safety gear (gloves, safety goggles, and work boots)
Step 1: Measure and Cut the Flashing
Before you start, ensure you have the correct measurements for your chimney. Measure the width and height of the chimney on all sides where flashing is needed. Add an extra inch to each measurement to allow for overlaps and a watertight seal. Use the tin snips to cut the metal flashing to the required size based on your measurements.
Step 2: Apply Base Flashing
Begin by placing the base flashing around the base of the chimney. Position it so that it covers the lower portion of the chimney and extends onto the roof surface. Secure the base flashing in place by using roofing nails or screws along the edges. Make sure to create a snug fit that forms a watertight barrier.
Step 3: Install Step Flashing
Next, it’s time to install step flashing, which will run alongside the chimney and interlock with each course of shingles. Slide the step flashing under the shingles and over the base flashing, ensuring it rests against the chimney. Each piece of step flashing should overlap the previous one by at least 3 inches. Secure the step flashing in place with roofing nails or screws, making sure they are driven into the roof deck and not just the shingles.
Step 4: Apply Counter Flashing
The counter flashing is installed on top of the step flashing to seal the joint between the chimney and the roof. It usually comes with a pre-bent “L” shape that wraps around the sides and top of the chimney. Apply a layer of sealant (high-temperature silicone or roofing cement) to the back of the counter flashing and press it firmly against the chimney surface. Secure the counter flashing by fastening it into the mortar joints using screws or nails.
Step 5: Seal the Joints
To ensure a completely watertight seal, apply a generous bead of high-temperature silicone or roofing cement along all the seams and joints where the flashing meets the chimney and the roof surface. This extra layer of protection will prevent any water from finding its way into vulnerable areas.
Installing metal roof flashing for a chimney is a task that requires precision and attention to detail, but it is vital for safeguarding your home from potential water damage. By following the step-by-step guide provided above and using the right tools and materials, you can successfully install metal roof flashing and enjoy the peace of mind knowing your chimney is well-protected and your roof is secure. If you’re uncertain about any step, it’s always best to consult a professional roofer to ensure the job is done correctly.