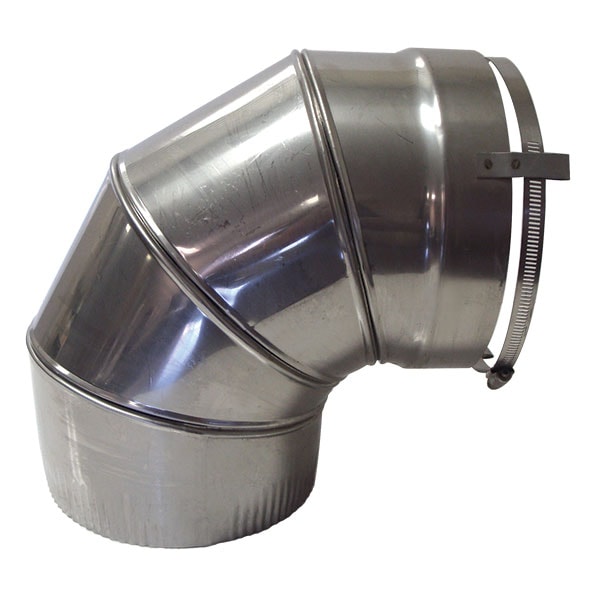
Installing chimney liner elbows is a crucial step in enhancing the efficiency and safety of your chimney system. This step-by-step guide will walk you through the process, ensuring a seamless installation that contributes to the optimal performance of your chimney.
1. Gather Necessary Tools and Materials:
Before you start the installation, gather the tools and materials required:
- Chimney Liner Elbows
- Screwdriver or Drill
- Stainless Steel Screws
- Tape Measure
- Chalk or Pencil
2. Choose the Correct Elbow Angle:
Determine the required elbow angle based on your chimney system’s configuration. Common angles include 45 degrees and 90 degrees. Ensure you have the correct elbows for your specific needs.
3. Measure and Mark the Installation Points:
Using a tape measure, mark the points on the chimney liner where the elbows will be installed. Use chalk or a pencil to create clear and visible marks for accurate placement.
4. Prepare the Elbows:
Inspect the chimney liner elbows for any defects or damage. Ensure they are clean and free of debris. If necessary, trim the liner to the required length using aviation snips or appropriate cutting tools.
5. Connect the Elbows:
Connect the chimney liner elbows to each other according to the required angle. Use stainless steel screws to secure the connection. Ensure a snug fit to prevent any gaps or leaks.
6. Attach the Elbows to the Liner:
Securely attach the assembled elbows to the marked points on the chimney liner. Use stainless steel screws to fasten the elbows in place. Ensure the screws are tightened adequately for a secure connection.
7. Inspect the Alignment:
Visually inspect the alignment of the chimney liner elbows. Ensure they are positioned correctly and create a smooth, continuous path for the flue gases to travel. Adjust the alignment if needed.
8. Seal the Joints:
Apply a high-temperature silicone sealant to the joints and connections to create an airtight and watertight seal. This helps prevent any leaks and ensures the efficiency of the chimney system.
9. Conduct a Smoke Test:
Perform a smoke test to check for any potential leaks or issues with the installation. Observe the flow of smoke to ensure it travels smoothly through the chimney liner elbows without any disruptions.
10. Secure the Liner in the Appliance:
If the chimney liner connects to a heating appliance, secure it according to the manufacturer’s instructions. This may involve attaching the liner to the appliance using clamps or other specified methods.
11. Final Inspection:
Conduct a final inspection of the entire chimney liner elbows installation. Ensure all connections are secure, sealed, and aligned properly. Address any issues or concerns identified during the inspection.
Conclusion:
Installing chimney liner elbows is a meticulous process that requires attention to detail. By following this step-by-step guide, you can ensure a proper and effective installation, contributing to the overall performance and safety of your chimney system.
