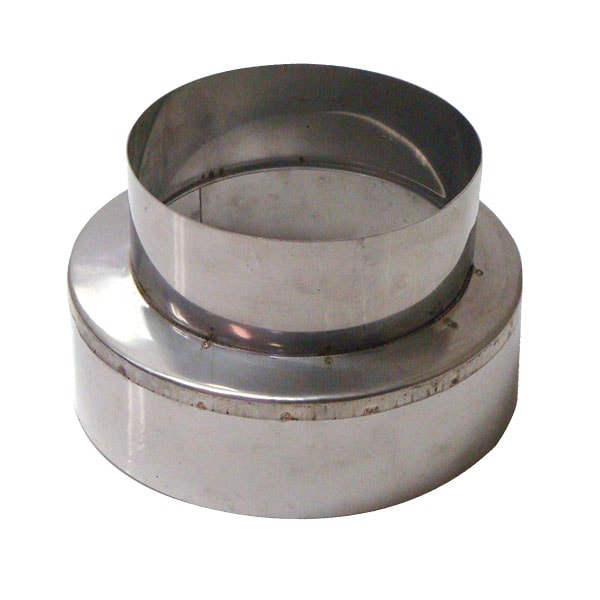
Installing a chimney pipe reducer is a key step in adapting your chimney system to accommodate different flue sizes and appliances. This step-by-step guide, accompanied by a sizing guide, will walk you through the process to ensure a seamless installation for optimal efficiency.
1. Gather Necessary Tools and Materials:
Before you start the installation, gather the tools and materials required:
- Chimney Pipe Reducer
- Screwdriver or Drill
- Stainless Steel Screws
- Tape Measure
- High-Temperature Silicone Sealant
2. Determine the Correct Size:
Refer to the sizing guide to determine the correct chimney pipe reducer size for your specific needs. Measure the flue sizes and appliance requirements to ensure a proper fit.
3. Inspect the Reducer:
Before installation, inspect the chimney pipe reducer for any defects or damage. Ensure it is clean and free of debris. Address any issues before proceeding with the installation.
4. Align the Reducer:
Align the chimney pipe reducer with the flue sizes and appliance requirements. Ensure that it provides a smooth and efficient transition between the different sizes, allowing for optimal draft and performance.
5. Secure the Reducer to the Larger Flue:
Using a screwdriver or drill, secure the chimney pipe reducer to the larger flue according to the manufacturer’s instructions. Use stainless steel screws to ensure a secure and durable connection.
6. Attach the Smaller Flue to the Reducer:
Connect the smaller flue to the other end of the chimney pipe reducer. Follow the manufacturer’s guidelines and use stainless steel screws to secure the connection. Ensure a tight and secure fit.
7. Apply High-Temperature Silicone Sealant:
Apply a generous amount of high-temperature silicone sealant to the joints and connections of the chimney pipe reducer. This creates an airtight and watertight seal, preventing any leaks or drafts.
8. Inspect the Entire Connection:
Visually inspect the entire connection, including joints, screws, and the alignment of the chimney pipe reducer. Ensure that everything is securely in place and properly sealed.
9. Conduct a Draft Test:
After installation, conduct a draft test to ensure that the flue gases are efficiently venting through the chimney. Monitor for any signs of backdraft or issues with the connection.
10. Final Check and Maintenance:
Perform a final check of the entire chimney pipe reducer installation. Monitor the connection over time and conduct regular maintenance to ensure continued efficiency and safety.
Sizing Guide:
Use the following sizing guide to determine the appropriate chimney pipe reducer size:
- Measure the diameter of the larger flue.
- Measure the diameter of the smaller flue or appliance outlet.
- Refer to the sizing chart provided by the manufacturer to find the suitable chimney pipe reducer size based on your measurements.
Conclusion:
By following this step-by-step guide and utilizing the sizing guide, you can confidently install a chimney pipe reducer for efficient transitioning between flue sizes. Proper installation contributes to the overall efficiency and safety of your chimney system.
