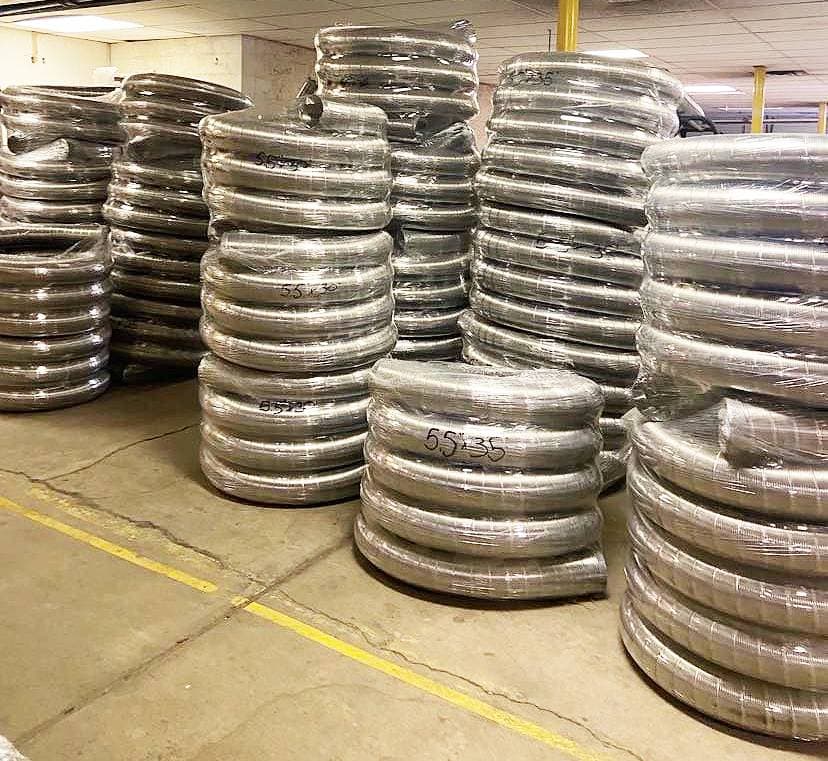
Installing a chimney liner is an essential aspect of maintaining a safe and efficient chimney system. The liner protects the chimney walls from heat, corrosive byproducts, and condensation, ensuring the smooth passage of exhaust gases. While there are various types of chimney liners available, flexible chimney liners have gained popularity due to their ease of installation and versatility. In this article, we will explore the process of installing a flexible chimney liner, providing you with valuable insights and step-by-step instructions.
Understanding Flexible Chimney Liners:
Flexible chimney liners are typically made of stainless steel or aluminum, and they come in a coiled form. They offer flexibility, making them suitable for chimneys with curves, offsets, or tight spaces. These liners are durable, resistant to high temperatures, and can accommodate different fuel types, such as wood, gas, or oil.
Gathering the Necessary Tools and Materials:
Before beginning the installation process, gather all the required tools and materials. This may include a flexible chimney liner kit, chimney brush, chimney cap, liner clamps, pipe cutter, screwdriver, pliers, gloves, safety goggles, and a ladder.
Measuring and Preparing the Chimney:
Accurate measurements are crucial for a successful installation. Measure the length and diameter of the chimney to determine the appropriate size of the flexible chimney liner. Ensure that the chimney is clean and free of debris, as this will facilitate smooth installation.
Assembling and Connecting the Liner:
Uncoil the flexible chimney liner carefully and inspect it for any damages or defects. Attach the liner cap securely to one end of the liner using the provided clamps or connectors. If necessary, trim the liner to the appropriate length using a pipe cutter. Connect the liner to the chimney flue using the appropriate adapter or connector.
Installing the Liner:
With the liner prepared and connected, slowly feed it into the chimney from the top using a chimney brush or a specialized liner puller. Take care to avoid any sharp edges or rough surfaces that may damage the liner. As you lower the liner, ensure it remains centered and aligned properly with the chimney walls.
Securing the Liner and Finishing the Installation:
Once the liner is in place, secure it by attaching the liner clamps or connectors at appropriate intervals. These clamps will hold the liner firmly in position and prevent it from sagging or shifting. Trim any excess liner at the bottom and secure it with a termination cap or damper plate. Finally, inspect the installation to ensure everything is secure and properly sealed.
Testing and Maintenance:
After installation, conduct a thorough inspection to verify that the liner is correctly installed and functioning efficiently. Check for any gaps or leaks using a smoke pencil or by conducting a smoke test. Regularly clean and maintain the chimney system to prolong the lifespan of the liner and ensure optimal performance.
Flexible chimney liner installation is a practical and effective way to enhance the safety and functionality of your chimney system. By following the steps outlined in this guide, you can successfully install a flexible chimney liner and enjoy the benefits of improved ventilation, increased efficiency, and reduced maintenance. However, if you are unsure or uncomfortable with the installation process, it is always recommended to seek professional assistance to ensure a proper and safe installation.
Discover the advantage of working with us as the owners of the chimney liner manufacturing factory. With direct control over the production process, we ensure top-notch quality while offering the best prices in the market. Get unbeatable deals on chimney liners and request a free quote tailored to your specific needs. Benefit from our factory-direct pricing and exceptional customer service. Don’t miss out on this exclusive opportunity to secure high-quality chimney liners at the most affordable prices. Contact us today and experience the difference of working with the factory owners.
