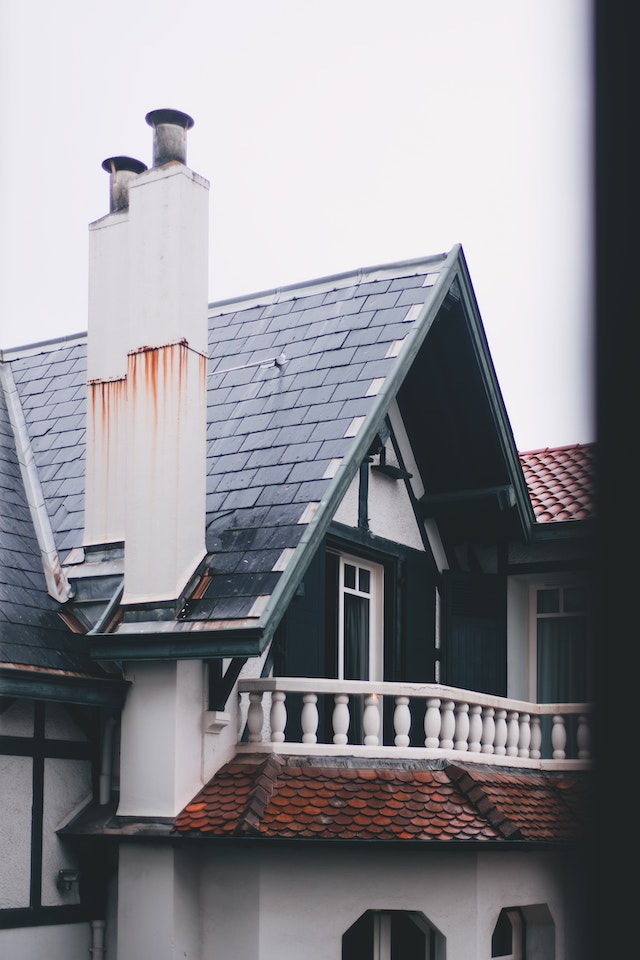
Chimney flashing plays a crucial role in keeping your home dry and safe from water damage. Over time, flashing can deteriorate, leading to leaks and costly repairs. Sealing chimney flashing is a DIY task that can save you money and prevent potential water damage. In this article, we’ll outline 10 simple steps to help you seal chimney flashing effectively.
Tools and Materials You’ll Need:
Safety gear (gloves, safety goggles, and a mask)
Ladder
Pry bar
Roofing cement or caulk
Flashing material (metal or rubber)
Roofing nails
Hammer
Tin snips
Roofing sealant
Paintbrush
Step 1: Safety First
Before you begin, make sure you have the necessary safety gear, including gloves, safety goggles, and a mask. Set up a stable ladder to access the roof safely.
Step 2: Inspect the Current Flashing
Carefully examine the existing flashing for any signs of damage or wear. Look for cracks, rust, or loose sections that may need repair or replacement.
Step 3: Remove Old Flashing
Using a pry bar, gently remove the old flashing. Be cautious not to damage the surrounding roofing material.
Step 4: Clean the Area
Clean the area around the chimney thoroughly. Remove any debris, dirt, or old roofing cement to ensure a clean surface for the new flashing.
Step 5: Measure and Cut the New Flashing
Measure the dimensions of the chimney and cut the new flashing material accordingly. Use tin snips for metal flashing or scissors for rubber flashing.
Step 6: Install the New Flashing
Position the new flashing around the chimney, ensuring a snug fit. Secure it in place with roofing nails, spacing them evenly along the edges. Use a hammer to drive the nails flush with the flashing.
Step 7: Seal the Edges
Apply roofing sealant or roofing cement along the edges of the flashing to create a watertight seal. Use a paintbrush to spread the sealant evenly.
Step 8: Seal Any Gaps
Inspect the flashing carefully and seal any gaps or seams with additional roofing cement. Pay close attention to corners and joints.
Step 9: Check for Proper Drainage
Ensure that the flashing slopes away from the chimney to allow water to run off. Use roofing cement to adjust the angle if necessary.
Step 10: Final Inspection
Once the sealant has dried, inspect the chimney flashing one last time for any missed spots or irregularities. Make any necessary touch-ups to ensure a complete seal.
Conclusion
Sealing chimney flashing is a manageable DIY task that can protect your home from water damage and costly repairs. By following these 10 simple steps and regularly inspecting and maintaining your flashing, you can keep your chimney and roof in top condition. Remember to prioritize safety and take your time to ensure a proper seal, and your chimney will remain leak-free for years to come.
